Showing posts with label acetate. Show all posts

Thursday, 4 August 2011

Simply Clear scrapbook stamping

Hi all
Today is my turn to share a project of the day over on the Banana Frog blog and as promised I expanded on the card idea I created for the Frog hop last Saturday


I've taken it large on a scrap page! As ever the step by steps for the poject can be found at the Lily pad.

I hope you're all well and happy, life at Mogford towers is still super busy but very exciting (and keeps me out of mischief LOL) I have so much I need to catch you all up on and one of these days I will be true to my word and get back on track with this blogging malarkey!!

Until then nice to *see you*, stay safe and Happy Crafting
Love
M x

Saturday, 30 July 2011

Froggity blog hop!

Hi all

It's that time of the month when the froglets leap from their Lilypads and share some work with you on the Banana Frog blog hop. You can start at the beginning from the frog blog if you have just happened to visit, if you're here on the hop I hope you're having fun :)

This months theme is Summer so I made some summery cards to share with you ...


I like the clear fresh look of the acetate and love adding a splash of colour to acetate stamping with some alcohol inks.


Happy Days card


This is super simple. Using the Totally Tropical stamp set, add some different coloured stayzon to the large corner stamp and stamp twice onto your acetate. I really like mixing inks on my stamp to get a shaded, multi coloured image. Top tip, when stamping onto acetate get right over the top of your work and stamp straight down positively but not too heavy handed as the stamp will slide!


Stamp two title blocks from the Tropical Taste tadpole stamp set, again mixing the colours and then stamp the greeting from the Sentimental Style stamp set on to one of them. I have stamped two sentiment blocks so the one with the greeting will be for the front and the other one attaches to the inside behind it to cover up the glue marks, obviously it shows just plain white on the inside as the stamped side goes against the front block, but, as I have used gel glue to attach the sentiment for dimension it is quite nice to see the double stamped image. Hmmm I keep re reading this last bit .. does it make sense?? LOL


You are my sunshine card


Again another simple card but I think it has added impact with the alcohol ink. Using the Scribble Flowers stamp set, I stamped a pattern using black stayzon down one side of the card front.


Flipping the card over I then dropped on some alcohol inks in different colours and let it do it's own thing! While it dried (it doesn't take long!) I stamped the little sentiment block from the Build a Daisy stamp set, again I did this twice attaching one to the front and the other behind it


Flowers in Nature


And finally, a card that mixes a bit of all of them! I stamped the flowers from the Super Dreamy stamp set using several stayzon colours, Stamped the sentiment from Build a Daisy and finally added some butterflies from the Swirls and Butterflies stamp set. I then added some alcohol ink to the back of the sentiment area, letting it do it's own thing again and that was it, a striking card made simply :)

I hope you've enjoyed your visit with me on the blog hop and feel inspired to do some simply clear summer stamping, I feel inspired to take this to a larger project and am cooking up a layout for my Project of the Day on the 4th August so please check back then!

A lot of the froglets are very busy at the moment with summer holidays etc so this month is just a short hop, I will direct you back to the Lilypad to catch up on those you've missed or to peruse for added inspiration and don't forget to check the shop link to grab a sale bargain while you're there! thanks for stopping by and I'll see you soon, until then Happy Crafting
Love
M x

Tuesday, 11 January 2011

Soul mates and fun with Glitz Designs

Hi all and Happy New Year and what better way to start my creative blog posts for 2011 than with fabulous Glitz products! After all the recent festivities I am now looking forward to going on holiday next week to my beloved Mexico so I decided to look at last year’s photos to get me in the mood. While looking through the many files I came across a series of photos of me and hubby, part of our holiday tradition holding the camera aloft everywhere we visit, and I had to smile. People have always told us we look alike and one of my dear friends calls us split aparts, meaning two halves of one whole, and never have I really seen this until these photos I was amazed to see we are pulling exactly the same facial expressions, well they just had to be scrapped!


And what better papers and embellishments to use than Glitz Designs so here’s my list!
Glitz Designs Hoopla paper; Floral
Glitz Designs Love nest paper; Floral
Glitz Designs Hoopla peek-a-boos
Glitz Designs Love nest peek-a-boos
Glitz Designs Hoopla cardstock stickers; titles
Glitz Designs hoopla rub ons
Glitz Designs Love nest glitzers
Glitz Designs vintage whatnots
Glitz Designs teeny alphas green


I started by printing all 3 photos at 6’’ x 4’’ and then ripping away the excess from 2 of the photos and distressing the edges of the main photo. I added some rub ons to the edge of the main photo to fill in the dark space, the Glitz rub ons are so super strong they are great for adding on to your photos to add extra interest.


I added some of the torn Hoopla floral paper in strips and adhered my photos in place adding in the map peek-a-boo from the love nest collection and then framing the 2 top photos with peek a boos from the Hoopla collection. I think these peek-a-boos are a genius idea for adding layers to your work without too much bulk.


On the back of the main photo I adhered a casing of foam tape to act as the housing for my vintage what not journaling card and added a hoopla title sticker to the edge of it to peek out as a pull tab.


Adding a bit of ribbon to the end of the pull tab makes the hidden journaling more inviting to pull out and some ribbon on the other side of the photo ties the layout together.


The finishing touches were the gorgeous Glitz Designs teeny alphas, a number 2 from the hoopla title stickers and a little bird from the love nest glitzers for a little bit of bling, love those glitzers! And that’s it a simple layout with hidden journaling and added acetate interest from those peek-a-boos with a map including Mexico to boot!

And while we’re still in the post festivities mood and in the spirit of using up those left overs I thought I would do a fun and bright layout using the Maya range launched this time last year to make way for the new Glitzy goodness coming (take a peek on the Glitz website for the ’coming soon’ gorgeousness!)


These photos of my nieces make me laugh so much they really capture their cheeky spirit. For this layout I have used
Glitz Designs Maya complete paper collection
Glitz Designs Maya cardstock accent stickers
Glitz Designs Maya rub ons
Glitz Designs teeny alphas in pink


I have used loads of scraps of papers (you know that pile of bits we all keep because we can’t bare to throw them out!) to create the pattern on this layout and covered some naked chipboard alphas in scraps too for the title. The accent stickers do most of the rest of the work on the layout alongside the rub ons added to acetate to make the butterfly embellishments fly. The journalling is done in the style of an advert on tv at the moment and the teeny alphas are perfect for the punchline.


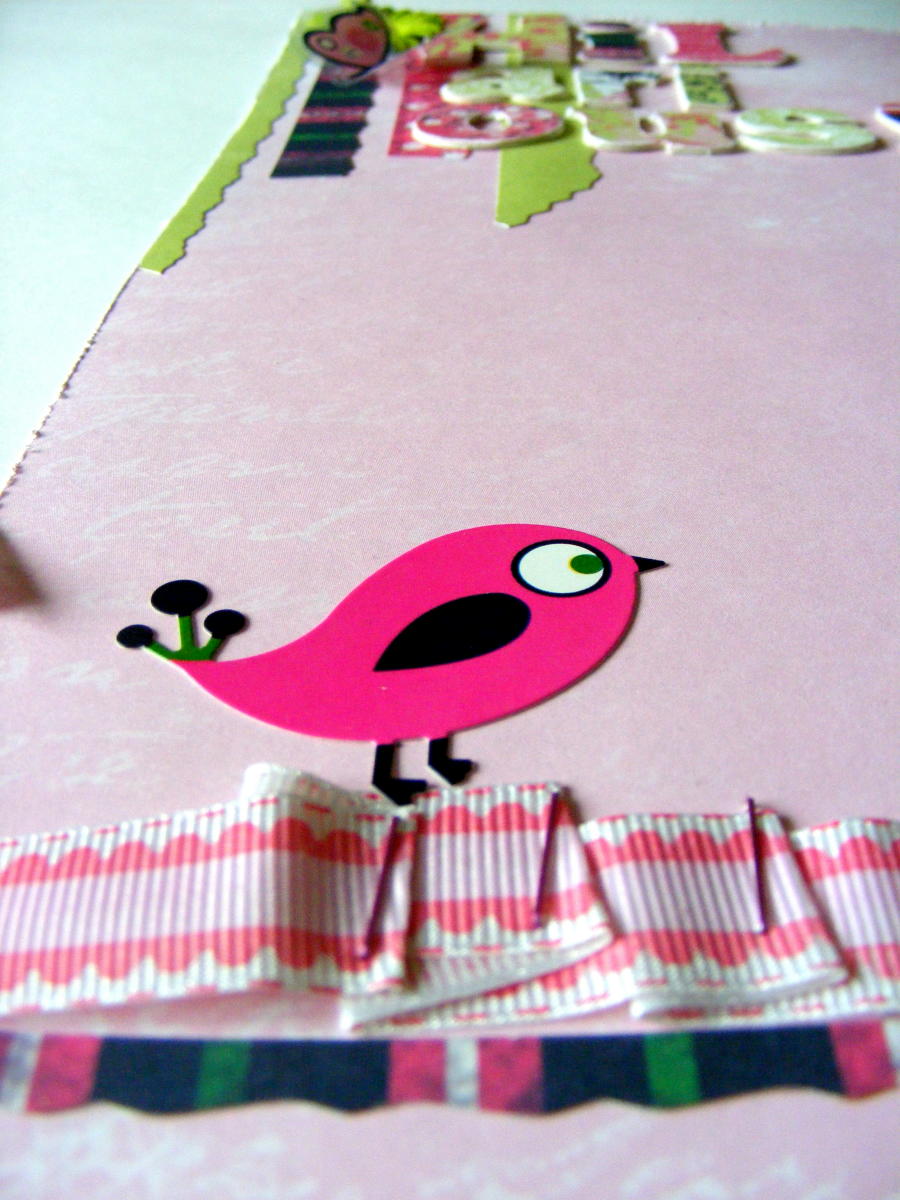
The Maya bird adds the whimsy on top of the stapled ribbon and layering up the scraps and alphas creates dimension. A happy layout that really makes me smile!

Thanks for stopping by and letting me share some Glitzy goodness with you today. I hope you’re all well and happy and until soon, as ever, Happy Crafting
Love
M x

Sunday, 16 May 2010

Retreats, workshops and puppies

Hi all ... well it's been a while again hasn't it!! Life seems to have been crazy busy, creatively and domestically and so I find myself having fallen by the wayside on my good blogging intentions but heh ho I'm here now :)

On the domestic front Oliver Pickles has well and truly become part of the family, but boy how quickly you forget how much time a puppy demands especially alongside still trying to give Stanley Dervish the attention he's got used to having, but I wouldn't be without them. They're hilarious and I think Stan quite likes Ollie now ... phew! Hubby also made it home from his volcanic ash adventures, he came home for a total of 24 hours, went off again but has been back for the last week and has been a star looking after us all while I have spent much needed time in the studio catching up with myself, however this is the chaos that is now my little crafty corner ... oops!


On the crafty front I had a fabulous day teaching at the Scrap-a-Jack retreat last weekend in Stratford-Upon-Avon. This was one of my classes 'Scrappy Time'


Made with corrugated card (all for the up cycling :)) and gorgeous Glitzy goodness from the Olivia line, oh and a real clock!

and this weekend I had a fabulous time doing one of my workshops at Bee Crafty. I let the girls loose with acetate, stamps and alcohol inks and they all created their own version of my reverse canvas. You can see mine here in my website gallery and here's a selection of what the girls created


I love the fact that each project came out completely differently (and the girls enjoyed getting messy :))

Talking of retreats and classes the Scrapping Angels retreat has been re scheduled for the 12th/13th of June after Anna's adventures thanks to the volcanic ash cloud. I believe there are a couple of spaces available so why not come along and play?

In between times I created a waterproof wall hanging for Purple Cows which will be available over on the PC blog as a free PDF soon


and also hosted designer Friday with some cards using hot foils with my Purple Cows laminator, more info can be seen here


There has been much more craftyness going on but the kind I have to wait to share with you :) So all that remains for me to say is ...

And Finally ...

Oliver tried to get in on the act of trying the cardboard snout on for size


Stan and I had a run in with some cows that were far too interested in us, even if they were in the next field my inate distrust of them made us abandon our walk as the cows, that we realised were bullocks, ran along the hedge trying to get us!!


Morning cuddles .... life aint so bad :)


Guard dogs extraordinaire???


and Oliies trip to the vets for his second puppy injections, Stan kept his 'arm' round him the whole way ... bless


and that vet trip also means today is the day we take Oliver out on the lead for the first time this afternoon ... look out!!!

Ok my lovely cyber buddies that's it from me, thanks for stopping by and until soon Happy Crafting
Love
M x