Showing posts with label hoopla. Show all posts

Thursday, 24 March 2011

Glitzy scraps and a message to me!

Hi all
It's my turn to share my Glitzy corner of the crafting world with you for this month and I thought I would look at using up some of those scraps that we all keep!
I love that you can mix and match the paper collections in the Glitz Designs lines, the colours and patterns work really well together and both my layouts this month show that so without further ado let me share my creations;


This is a layout showing a sequence of photos my husband took of the grandchildren while he was having a conversation with them via skype ... the wonders of modern technology heh!
The ingredients;
Glitz Designs Hoopla papers - pipework, frames, floral
Glitz Designs Scarlett paper - wallpaper
Glitz Designs Love nest paper - stripes
Glitz Designs Scarlett paper layers
Glitz Designs Scarett glitzers
Glitz Designs Clear distressing stamps - distressing round


I created a mat and layer for my main photo and worked out it's position on the page (the pencil marks you can see are the position of the bits on my layout that I laid out before committing to the design!) I then distressed the edges of the 12 x 12 and inked it. Using the distress rounds stamps I then added some circular shaped features to the background with some peeled paint distress ink.


I then ripped the edges of some of my scraps....


.....and assembled them with the photo and mat in position


I cut mats for my small photos and creased and curled the edges upwards to add dimension adhering them to the layout at various levels using foam pads for dimension


Taking a paper layer I cut the phone and speech bubble from it and mounted them on cardstock to create embellishments


And added them to my layout on foam pads for dimension along with some ribbon for texture and my journalling.

I love this layout as the photos not only tell a story of a conversation but catch Sophie and Dylan being absolutely natural!

Moving on ... recently I have been giving myself a good talking to. I think it is all too easy sometimes to get caught up in the hustle and bustle of life and forget to touch base with ourselves so this layout is all about me and the secret message I have written to myself on the hidden journaling block.


The sentiments of the Glitz Designs stickers fit this layout perfectly, and so to the ingredients;
Glitz Designs Love nest paper - polka
Glitz Designs Hoopla papers - zebra and polka
Glitz Designs Scarlett paper - polka
Glitz Designs Love nest rub ons
Glitz Designs Love nest glitzers
Glitz Designs Love nest cardstock stickers - titles
Glitz Designs Love nest what nots
Glitz Designs tulle
Glitz Designs frostings in pink and clear


I distressed the edges of the 12 x 12 liberally


Then cut out 3 portrait photos of me and mounted them on to some Glitz paper ...


.... cutting them out with a loose border and mounting them onto some distressed rectangles of Scarlet polka paper. I also added some hessian across the page, yet more polka paper and some pink tulle.


After adhering the photos onto the page with foam pads for dimension I added some secret journalling to a what not ....


... creating a secret pouch for it on the back with foam tape and paper, leaving the sentiment at the top poking out.


Cutting the roses from the polka paper I created an embellishment to sit under the remember tab.


Adding cardstock stickers said everything I needed to say on the layout and I had a bit of fun with a birdie rub on, a glitzer crown and some frosting.

This is a very personal layout, and I love the fact I have been able to hide the message I have written to myself on the the what not.

So what will you do with your glitz scraps? what message do you wnat to write to yourself? Whatever it is you want to create I know you will find just the right Glitzy product to help you along the way.

Thanks for stopping by, I hope you're well and happy.
Until soon Happy Crafting
Love
M x

Tuesday, 11 January 2011

Soul mates and fun with Glitz Designs

Hi all and Happy New Year and what better way to start my creative blog posts for 2011 than with fabulous Glitz products! After all the recent festivities I am now looking forward to going on holiday next week to my beloved Mexico so I decided to look at last year’s photos to get me in the mood. While looking through the many files I came across a series of photos of me and hubby, part of our holiday tradition holding the camera aloft everywhere we visit, and I had to smile. People have always told us we look alike and one of my dear friends calls us split aparts, meaning two halves of one whole, and never have I really seen this until these photos I was amazed to see we are pulling exactly the same facial expressions, well they just had to be scrapped!


And what better papers and embellishments to use than Glitz Designs so here’s my list!
Glitz Designs Hoopla paper; Floral
Glitz Designs Love nest paper; Floral
Glitz Designs Hoopla peek-a-boos
Glitz Designs Love nest peek-a-boos
Glitz Designs Hoopla cardstock stickers; titles
Glitz Designs hoopla rub ons
Glitz Designs Love nest glitzers
Glitz Designs vintage whatnots
Glitz Designs teeny alphas green


I started by printing all 3 photos at 6’’ x 4’’ and then ripping away the excess from 2 of the photos and distressing the edges of the main photo. I added some rub ons to the edge of the main photo to fill in the dark space, the Glitz rub ons are so super strong they are great for adding on to your photos to add extra interest.


I added some of the torn Hoopla floral paper in strips and adhered my photos in place adding in the map peek-a-boo from the love nest collection and then framing the 2 top photos with peek a boos from the Hoopla collection. I think these peek-a-boos are a genius idea for adding layers to your work without too much bulk.


On the back of the main photo I adhered a casing of foam tape to act as the housing for my vintage what not journaling card and added a hoopla title sticker to the edge of it to peek out as a pull tab.


Adding a bit of ribbon to the end of the pull tab makes the hidden journaling more inviting to pull out and some ribbon on the other side of the photo ties the layout together.


The finishing touches were the gorgeous Glitz Designs teeny alphas, a number 2 from the hoopla title stickers and a little bird from the love nest glitzers for a little bit of bling, love those glitzers! And that’s it a simple layout with hidden journaling and added acetate interest from those peek-a-boos with a map including Mexico to boot!

And while we’re still in the post festivities mood and in the spirit of using up those left overs I thought I would do a fun and bright layout using the Maya range launched this time last year to make way for the new Glitzy goodness coming (take a peek on the Glitz website for the ’coming soon’ gorgeousness!)


These photos of my nieces make me laugh so much they really capture their cheeky spirit. For this layout I have used
Glitz Designs Maya complete paper collection
Glitz Designs Maya cardstock accent stickers
Glitz Designs Maya rub ons
Glitz Designs teeny alphas in pink


I have used loads of scraps of papers (you know that pile of bits we all keep because we can’t bare to throw them out!) to create the pattern on this layout and covered some naked chipboard alphas in scraps too for the title. The accent stickers do most of the rest of the work on the layout alongside the rub ons added to acetate to make the butterfly embellishments fly. The journalling is done in the style of an advert on tv at the moment and the teeny alphas are perfect for the punchline.


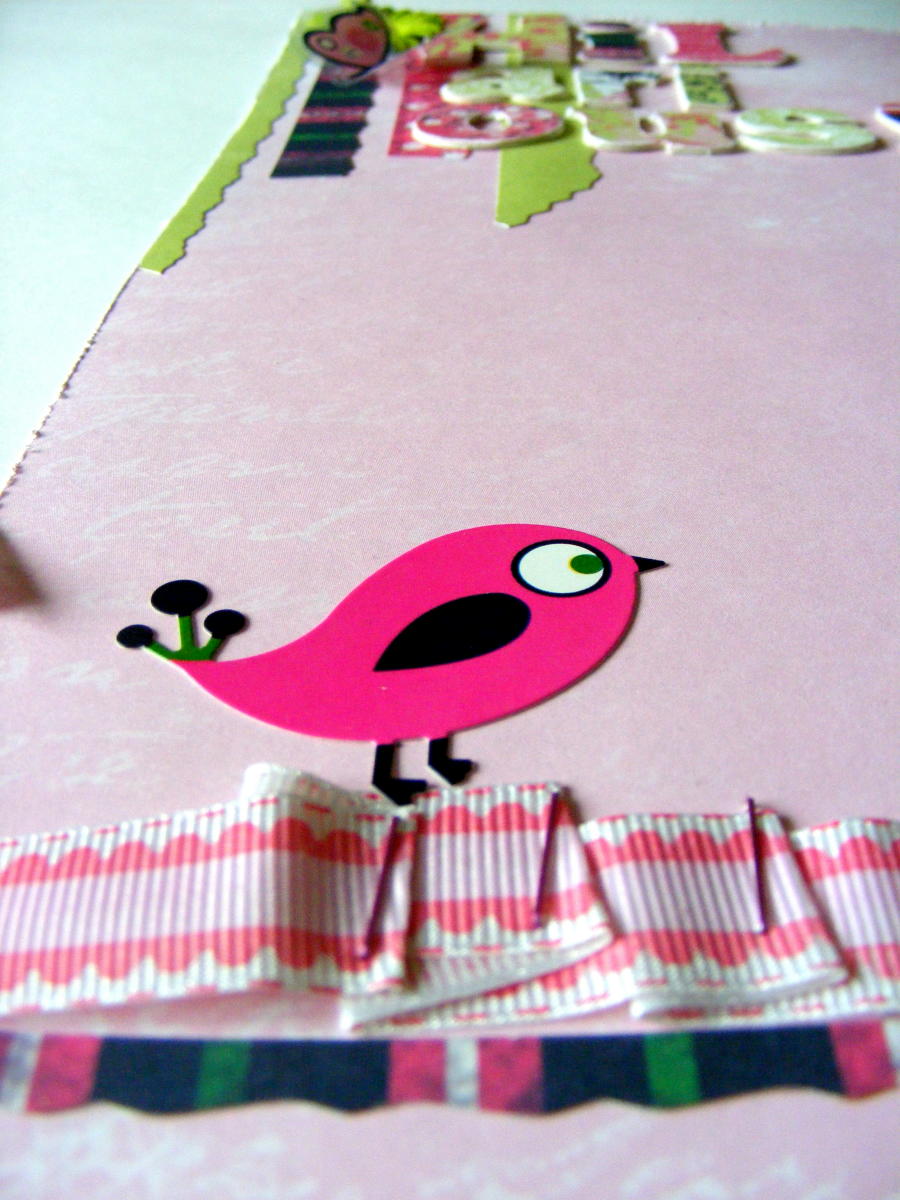
The Maya bird adds the whimsy on top of the stapled ribbon and layering up the scraps and alphas creates dimension. A happy layout that really makes me smile!

Thanks for stopping by and letting me share some Glitzy goodness with you today. I hope you’re all well and happy and until soon, as ever, Happy Crafting
Love
M x

Monday, 20 December 2010

Festive Glitzy fun

Hi all, with the festive season upon us I thought I would share some fun and festive glitziness with you;


Happy Christmas
I love creating collages and paper dolls, my Christmas card last year was a print from a paper doll collage I made so I thought I’d do the same again this year, especially with all the gorgeous Glitz colours to play with. These collage projects are great for using up all the scraps we all keep and I have used a veritable feast of Glitzyness in this project so with a deep breath here is my shopping list;

Glitz Designs Love Nest papers; stripe, floral, polka and sky
Glitz Designs Scarlett papers; polka and stripe
Glitz Designs Hoopla papers; floral and polka
Glitz Designs Hoopla GlitzersGlitz Designs Hoopla cardstock stickers; titles
Glitz Designs frosting; pink/clear
Glitz Designs Glitzers; circles
Glitz Designs Teeny Alphas; Red block


Phew! I have scrapped this page in A4 UK size (which is about 8 ¼’’ x 11 ¾’’) I sketched out my scene and then pieced my papers together to create a background on the Love Nest stripe base. Using a decorative cutter on different green papers I cut strips for my tree layers and used the bunting from the hoopla cardstock titles in the top corner, I cut the strip to allow me to ‘curve’ the bunting on the page.


I then decorated the tree with the circle glitzers (I love Glitzer stickers, with a clear base you can see through and bling encapsulated in them they are so easy to use!) I also added some pink frosting for extra sparkle.


I made some parcels, stacking them up and adding contrasting ribbons, inking all the edges to add definition.


I then made my paperdolls using white card and coloured them in with pencils and making clothes from my selection of Glitz papers, inking edges to create shape. I printed head shots of me and my husband to go on the dolls.


After dressing the dolls I added them to my page on foam pads for extra dimension.


I added further decoration to my scene with Glitz frosting gems on the shoes and the hats, a star for the tree and the balloons from the Hoopla Glitzers.


Of course a family scene wouldn’t be complete without Stan and Ollie so I printed out a small photo of the dogs, cut them out and made antlers for them. I added my title using the teeny alphas and sat the boys on top of the letters.


With a bit of extra bling here and there and final touches my fun festive scene was complete, well it makes me smile!


I will scan my page and create prints for the front of my card blanks and send out some festive Glitzy fun to my family and friends for Christmas. What will you create today that will put a Glitzy smile on your face? Whatever it is I would like to take this opportunity to wish you all a very happy and safe Christmas and may all your festive wishes come true. I’ll see you soon and until then, as ever, Happy Crafting
Love
M x

Friday, 10 December 2010

A Glitzy Hoopla winter

Hi all, I am so enjoying playing with all the new Glitz lines and fun products that they have brought to us. Hoopla is a really fresh and funky collection that is perfect for recording birthday and celebration memories, but also perfect for lots of other projects like this wintery offering I have for you today.


My beautiful captor

This page is a record of the 10 days I was trapped in our village in January this year due to a sudden heavy snow fall, it was very beautiful looking at the snow laden trees on the lane and Stanley my dog loved playing in the fields but it was very isolating and oh so cold! I think the colours of the hoopla collection lend themselves very well to the wintery subject and here is my Glitzy shopping list:

Glitz Designs Hoopla papers; Polka, pipework and frames
Glitz Designs Hoopla cardstock stickers; journaling
Glitz Designs Fancy frames rub ons
Glitz Designs Pom Poms; white/red/pink
Glitz Designs Tulle; Aqua
Glitz Designs giant rhinestones; green


I love the pattern of the pipework paper that I used as my base, there’s so much to look at in one piece of paper! I used a strip of the polka paper to give my photo grounding on the page and added a fancy frame rub on to further create a focal point to be built on, while also tying in the black around the edges of the patterned paper.


Next I cut off a length of the aqua tulle from the 12’’ long strip. I think this card of lovely coloured tulle is so much fun to play with and has so much potential to be used in different ways. I used some white acrylic paint to adhere my tulle to the page while also creating a snowy feel to the material. Because acrylic paint is a plastic based paint it is great to use as a decorative adhesive, just be patient waiting for the blobs of paint to start drying! Scrunching the tulle up also adds texture and intensifies the colour of it in places.


To tie in the use of the paint I also added it quite roughly to the bottom corner of the paper strip and to the top right corner of the page.


Using the lovely blue colour on the reverse of the frames paper I created a distressed mat for my photo and then had a play with the fun new pom poms. Using the white pom poms as snowballs I tied a loop in the cord that I hooked over the top corner of my photo, securing with some silicon glue and tucking a little of the cord behind. I trimmed off the excess cord to use later.


In the bottom right hand corner of the page I created a small embellishment for my journaling using one of the card stock stickers and scraps of paper to tie the page together as well as adding in some ribbon and lace that I used under the main photo and the little bit of excess cord I trimmed from my pom poms.


Using more scraps from the frames and polka paper I punched out some snowflakes and brushed them with some stickles for extra wintery sparkle ....


.... adding them in clusters around my layout, making a main feature under the corner of the photo by using 2 of the fabulous Glitz Designs giant rhinestones in the prettiest green colour alongside them.


Finally adding my jounalling to record the memory, my wintery page was complete. Glitz products come in such pretty colours and all co-ordinate beautifully and I really enjoyed working with the colours in the Hoopla line, by playing on the turquoise and aqua colours a seemingly bright and spring coloured collection can look quite wintery and I hope you have fun recording some Glitzy winter memories this year!
As ever thanks for stopping by, and if the temperature is starting to plummet with you stay wrapped up, safe and warm, see you soon with a Glitzy festive offering and until then Happy Crafting
Love
M x