Showing posts with label stickers. Show all posts

Friday, 5 August 2011

Getting on my Glitz in a different size

Hi all
It's my turn to share a couple of projects with you using lovely Glitz Designs products and this month I thought I would change it up a bit and scrap in a different size. I decided to use A4 (uk paper size) and found it an interesting challenge and really enjoyed the different discipline. Here's what I created


Nothing is Black and White


And here's the twist on the title, my hidden photo and journalling!

For this project I have used:
Glitz Designs Love Games Papers; Floral and Damask
Glitz Designs Afternoon Muse paper; Floral
Glitz Designs Love Games Paper layers
Glitz Designs Afternoon Muse Journal stickers
Glitz Designs Teeny Alphas; cream and ivory block
Glitz Designs frosting; red and black
Glitz Designs Giant Rhinestones; pink, black, green collection.

The photos are from a cruise we went on, it was a formal night and we went to have some proper photos taken, all started out well but after a nice bottle of red with dinner the giggles set in and the formality of the photo shoot was blown! I printed off the 'proper' photo in black and white and then one from the end of the shoot, when it all started going south, in colour. The black and white of Love Games works perfectly with my black and white idea and the zing of Afternoon Muse works great for the shot of hidden colour.


I ripped away an aperture slightly larger than my colour photo from the Love Games floral paper and then cut away the centre of the crossword paper layer to create a frame.


I adhered a mat of the yellow paper to the back of the photo and cut a journal sticker to a rounded shape, added this to my photo and recorded my hidden bit of the story.


After matting the black and white photo onto some of the papers, making it big enough to cover the hidden section and distressing the edges, I created a hinge by cutting two of the little damask patterns from the paper and folding the strip in half, adhering it to the photo and the base of the layout so the black and white photo became a little 'door'


Cutting some of the black ad white poppies from the floral paper and scrunching them into shape I created some bespoke flower embellishments.


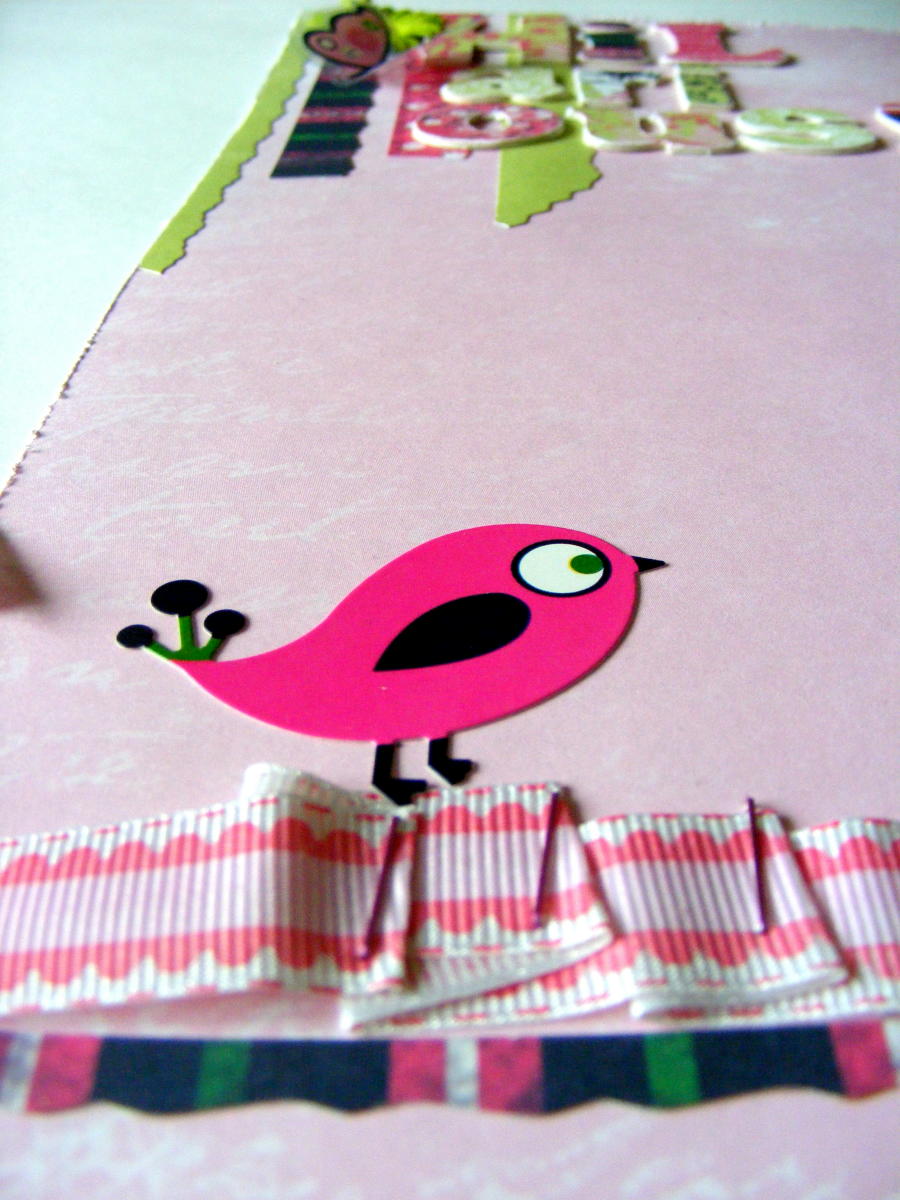
Adding rhinestones, lace, ribbon and the gorgeous teeny alphas for my title finished off my layout.

As I had done one of my pages landscape I thought the next one should be portrait


A Volcano and a camel ride

For this project I have used;
Glitz Designs Laced with Grace papers; Floral, Plaid, Rose and Polka
Glitz Designs Love Games paper; score card
Glitz Designs Laced with Grace Journal and Title stickers
Glitz Designs Afternoon Muse Title stickers
Glitz Designs Teeny Alphas; Burnt Orange

I love the orange colours in the Laced with Grace colection and the richness of them has always reminded me of the many volcanos I have been lucky enough to visit, so, the other day when I came across these photos of our camel ride through the Timanfaya volcano range in Lanzorote I knew just the papers to use to scrap my memory of an unforgettable day (for many reasons LOL)


When I get to work with such great paper colletions I really like to be able to mix the different papers up and let them do the work. I cut several layers in different colours and distressed the edges.


When I adhered the paper layers I made sure I left the top edges loose so I could slip my little photos under them in position. I created a distressed matt for my larger photo and added that on foam pads for added dimension.


I then set to and started chopping up some of my lovely stickers, they are heavy duty stickers and can take the punishment! It's really interseting to see how the stickers can be transformed into something completely different and I will keep all the bits not used as I know somewhere along the line they will be perfect for a project.


After adding the stickers, journalling and creating my title with the teeny alphas my layout was finished and even though it is mainly papers and stickers it still has a lot of dimension and I love the colour of it!

So why not try a different size to scrap your next page in? It'll make you look at things in a different way! Thanks for stopping by and I'll see you soon, until then Happy Crafting!
Love
M x

Tuesday, 19 July 2011

Happy July with Glitz Designs

Hi all,
Well it’s that time again to share some Glitzy goodness with you with some Glitz Designs loveliness.

July is one of my favourite months, it holds so many memories for me as it’s the month that the long school holidays start and it’s my birthday month so I wanted my projects to sum up those feelings ....


40 years on

I hardly recognise this little person, but it is one of my favourite pictures of me and makes me smile, I realised it is now 40 years since it was taken, oh my life!! And I thought it would be interesting to see what I would say to that younger me knowing what I know now so created this layout with some hidden journaling to hold my message.

I have mixed up the collections for this one and this is what I used
Glitz Designs Love Games papers; score card and polka
Glitz Designs Laced with Grace papers; polka, floral and stripe
Glitz Designs Afternoon Muse paper; polka
Glitz Designs Teeny alphas; apple green block, pink block, yellow block and burnt orange
Glitz Designs Laced with Grace Whatnots
Glitz Designs Laced with Grace paper layers
Glitz Designs Afternoon Muse peek-a-boo
Glitz Designs Love Games clear stamp set
Glitz Designs Afternoon Muse clear stamp set
Glitz Designs Save the Date clear stamp set


I started by laying down a rough block of colour in the centre of the score card paper with some distress ink to create a base to lift my design...


...Then built up a collage of distressed circles to reflect the circle of the date stamp and to introduce all the happy colours from the papers. I also put my photos through a cartoon effect and printed them onto some mat paper, a fun effect that lends to the retro story I am telling.


I added some foam tape around three edges of my ‘now’ photo to adhere it to the page, leaving the right side open to slip in my hidden journaling.


I love the sentiment on the Laced with Grace paper layer but it was too big for my layout in its entirety so I cut some word strips from it ....


.... then added in the missing words with the teeny alphas. I love mixing up typesets and these teeny alphas are not only one of my favourite Glitz products but quite possibly one of my most favourite products ever! I love the colours.


Finally I stamped the Hello stamp at the top of a strip of card and fold it concertina style to slip in behind my ‘now’ photo. This is where my hidden message to the younger me lives.


This layout will live on an easel on my side for a while, I love its happiness with all the colours and I love the message it speaks to me.

So with the summer holidays round the corner over here in the UK and all my memories of long days playing in the back garden with the paddling pool and trips to the seaside I really smiled when I saw this photo of my cousins two little ones sitting in their sandpit in the sun, I love the candied shot.


Happy Life

I used;
Glitz Designs Laced with Grace papers; stripe, polka and plaid
Glitz Designs Afternoon Muse papers; block, stripe and banner
Glitz Designs Afternoon Muse paper layers
Glitz Designs Afternoon Muse cardstock stickers; titles
Glitz Designs Afternoon Muse Whatnots
Glitz Designs Afternoon Muse Glitzers
Glitz Designs Laced with Grace cardstock stickers; titles


I took some bright yellow paint and splattered the middle of my base paper, adding ‘sunshine’...


....And started building up layers of paper as a base for my photo. I created a paper ribbon with some of the Afternoon Muse block paper by folding a strip backwards and forwards along its length and when adhering allowing sections of it to stand free.


The clown from the what not was perfect as an accent at the corner of my collage so I cut him free and adhered him to the end of the follow your bliss title sticker.

The Glitzers were perfect for finishing off my layout as was one of the banners cut from the banner paper, while the ferris wheel cut from the paper layer finished of the happy fun fair feel of my page.

I hope July is a happy month for you too, thanks for stopping by and until soon Happy Crafting
Love
M x

Tuesday, 11 January 2011

Soul mates and fun with Glitz Designs

Hi all and Happy New Year and what better way to start my creative blog posts for 2011 than with fabulous Glitz products! After all the recent festivities I am now looking forward to going on holiday next week to my beloved Mexico so I decided to look at last year’s photos to get me in the mood. While looking through the many files I came across a series of photos of me and hubby, part of our holiday tradition holding the camera aloft everywhere we visit, and I had to smile. People have always told us we look alike and one of my dear friends calls us split aparts, meaning two halves of one whole, and never have I really seen this until these photos I was amazed to see we are pulling exactly the same facial expressions, well they just had to be scrapped!


And what better papers and embellishments to use than Glitz Designs so here’s my list!
Glitz Designs Hoopla paper; Floral
Glitz Designs Love nest paper; Floral
Glitz Designs Hoopla peek-a-boos
Glitz Designs Love nest peek-a-boos
Glitz Designs Hoopla cardstock stickers; titles
Glitz Designs hoopla rub ons
Glitz Designs Love nest glitzers
Glitz Designs vintage whatnots
Glitz Designs teeny alphas green


I started by printing all 3 photos at 6’’ x 4’’ and then ripping away the excess from 2 of the photos and distressing the edges of the main photo. I added some rub ons to the edge of the main photo to fill in the dark space, the Glitz rub ons are so super strong they are great for adding on to your photos to add extra interest.


I added some of the torn Hoopla floral paper in strips and adhered my photos in place adding in the map peek-a-boo from the love nest collection and then framing the 2 top photos with peek a boos from the Hoopla collection. I think these peek-a-boos are a genius idea for adding layers to your work without too much bulk.


On the back of the main photo I adhered a casing of foam tape to act as the housing for my vintage what not journaling card and added a hoopla title sticker to the edge of it to peek out as a pull tab.


Adding a bit of ribbon to the end of the pull tab makes the hidden journaling more inviting to pull out and some ribbon on the other side of the photo ties the layout together.


The finishing touches were the gorgeous Glitz Designs teeny alphas, a number 2 from the hoopla title stickers and a little bird from the love nest glitzers for a little bit of bling, love those glitzers! And that’s it a simple layout with hidden journaling and added acetate interest from those peek-a-boos with a map including Mexico to boot!

And while we’re still in the post festivities mood and in the spirit of using up those left overs I thought I would do a fun and bright layout using the Maya range launched this time last year to make way for the new Glitzy goodness coming (take a peek on the Glitz website for the ’coming soon’ gorgeousness!)


These photos of my nieces make me laugh so much they really capture their cheeky spirit. For this layout I have used
Glitz Designs Maya complete paper collection
Glitz Designs Maya cardstock accent stickers
Glitz Designs Maya rub ons
Glitz Designs teeny alphas in pink


I have used loads of scraps of papers (you know that pile of bits we all keep because we can’t bare to throw them out!) to create the pattern on this layout and covered some naked chipboard alphas in scraps too for the title. The accent stickers do most of the rest of the work on the layout alongside the rub ons added to acetate to make the butterfly embellishments fly. The journalling is done in the style of an advert on tv at the moment and the teeny alphas are perfect for the punchline.


The Maya bird adds the whimsy on top of the stapled ribbon and layering up the scraps and alphas creates dimension. A happy layout that really makes me smile!

Thanks for stopping by and letting me share some Glitzy goodness with you today. I hope you’re all well and happy and until soon, as ever, Happy Crafting
Love
M x

Tuesday, 23 November 2010

Love abiding with Glitz Designs

Hi all,
Today I get to share some more Glitzy goodness with you ... I am so lucky to get to play with the amazing Glitz products and new lines and I am so lucky to be married to a wonderful man. 19 years ago I met my soul mate and 11 years ago this month I got to marry him. It has become a little tradition of mine over the years that I scrap a page of us then and now, this year my page was prompted by the Scarlett paper layer I’ve used.... a perfect sentiment and a perfect Glitz line!


Love Abiding

Glitz Designs Scarlett papers; Wallpaper, Polka, Bouquet
Glitz Designs Scarlett Paper Layers
Glitz Designs Scarlett Rub ons
Glitz Designs Scarlett Peek-a-boo
Glitz Designs Scarlett Glitzers

Now I have to confess I thought I would stick to the darker colours of the Scarlett line but I was drawn to the yellow side of the Bouquet paper so much I had to use it, which scared me a little as I think this is the first time ever that I have scrapped with these colours, but do you know what? I loved using a different colour palette, it was refreshing and so easy with everything co-ordinating within the line.


I cut the beautiful floral corner from the Bouquet paper, tore a strip from the green polka of the same paper and a large green rectangle from the wallpaper 12 x 12(love that green!) For my page base, distressing edges and inking.


Layering it up I tried to make things overlap in places to meld it altogether.


I printed some small ‘then’ pictures of us in sepia and distressed them with my trusty nail file.


And printed a large ‘now’ picture of us in colour, matting it onto some of the bouquet paper, distressing the edges and curling them up to add dimension.


After layering the 3 small photos down the page I added one of the new embellishments to the Glitz family, a peek-a-boo, a pack of fun designs printed onto transparent film to overlay and layer up. I used the lovely frame one to pick out a photo of us on our wedding day, attaching the top right corner with silicon glue as this would be hidden by the main photo.


To tack the opposite corner of the peek-a-boo down I used some of the pretty Scarlett Glitzers, they tie in beautifully with my floral corner and also add the perfect amount of bling (those crystals are encapsulated within the stickers, so easy to use!) while acting as a fastener.


I ripped the bottom and one side of the paper layer which started this layout and inked the edges before simply adhering it to the page to sit under my main photo which was added on foam pads to make it stand out.


Lastly, to tie in the floral bottom corner of my page and to add an interest to a bare, sharp corner of the main photo I applied a rub on to a piece of acetate and cut it out, the rub ons are so super strong and beautifully detailed they are great to create your own embellishments, adding them to acetate allows you to use them in other ways than just flat.


I added it to the top corner of my photo on foam pads, added a bit of handwritten journaling to the top left corner and voila there is this year’s then and now layout.


A complete departure on the colour front for me but I love it and I also love the fact that everything on this page is from Glitz and all from one line to boot!

I hope you’re having as much fun as me creating with the new Glitz products! Thanks for stopping by and I’d like to take this opportunity to wish all my Family and friends in America a very happy and peaceful thanksgiving. Until soon, Happy Crafting!
Love
M x